The Legend of Zelda: Tears of the Kingdom remaining boss is somebody that long-time followers ought to be conversant in. This time, an previous rival has just a few methods up his sleeve. Here is our information that will help you beat the ultimate boss in Zelda: Tears of the Kingdom. Naturally, this text accommodates main spoilers.
How you can beat remaining boss Ganondorf in The Legend of Zelda: Tears of the Kingdom
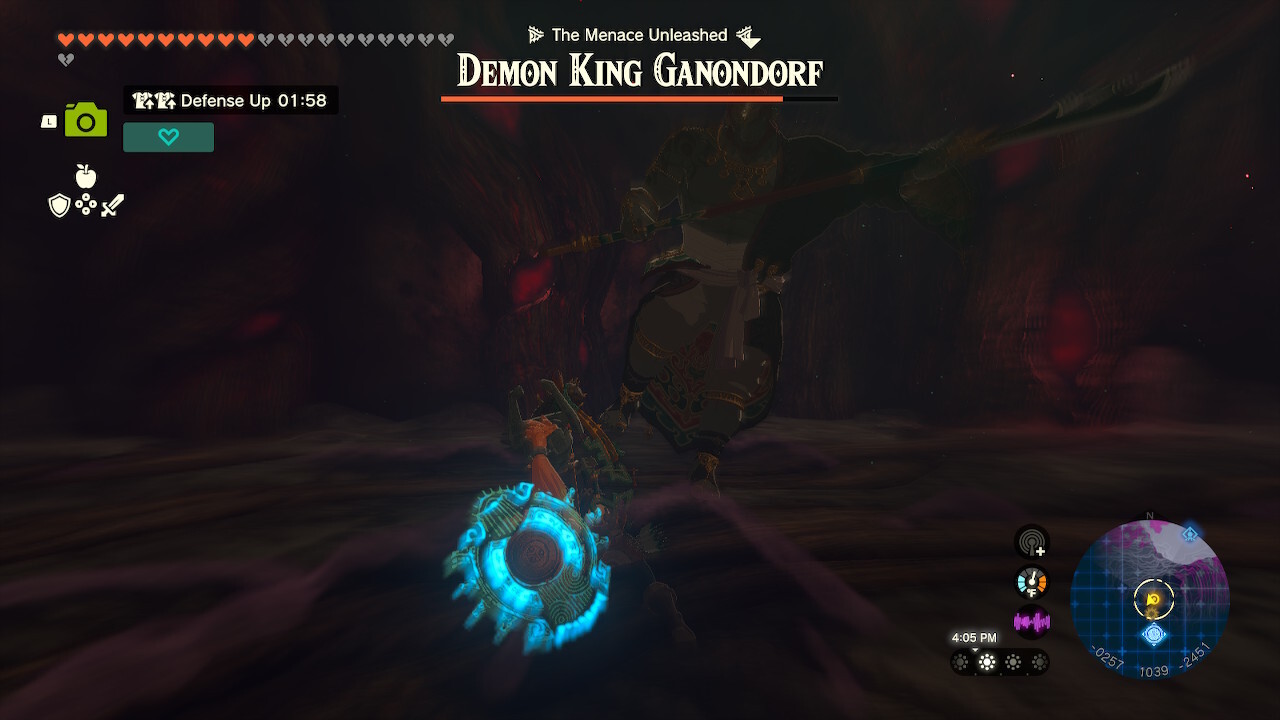
The Legend of Zelda: Tears of the Kingdom Ganondorf remaining boss is not the mummified model from the intro, neither is he the Phantom Specter that you just noticed in Hyrule Citadel. This time, he is beefed up significantly, and he will check your mettle.
All of Ganondorf’s assaults trigger the Gloom affliction, so ensure you’ve obtained Sundelion-based meals to cleanse the debuff when essential. Oh, and now we have to say, this can be a boss battle with three and a half phases. If you need, you’ll be able to take pictures of every of his varieties to allow them to be added to your compendium.
Notice: We advocate putting a Journey Medallion in Hyrule Depths simply earlier than the Demon King’s Military battle. When you end that, you will be despatched straight to Ganondorf’s cavern, and it is not doable to avoid wasting nor quick journey when you’re there. As such, ensure you’ve obtained every thing you want, such because the Grasp Sword. Should you really feel such as you forgot some stuff, you will haven’t any alternative however to load an earlier save and redo the Demon King’s Military encounter.
Demon King Ganondorf: Part 1
Ganondorf has the next assaults, which can change based mostly on the weapon that he is utilizing:
- Sword Lunge – That is his regular assault, which alternates with most different talents. It is also simply telegraphed, and you may seemingly dodge this one to counter with Flurry Rush.
- Floor Blades – Causes three red-bladed projectiles to journey alongside the bottom. Simply transfer in between the gaps.
- Gloom Arrows – Fires three arrows in fast succession. Simply transfer sideways.
- Spear Thrust – Does a wind-up earlier than charging at you throughout the room. That is achieved thrice, so be sure to keep away from each.
- Tremendous Slam – Jumps into the air earlier than crashing down on the bottom. Shortly get out of the best way when this happens.
Furthermore, he’ll dodge each regular melee assault you do. You possibly can solely deal harm should you shoot him with arrows (minimal) or do an ideal dodge to observe up with a Flurry Rush (efficient).
We advocate equipping weapon fuses with excessive assault rankings, or the Grasp Sword with a high-tier fuse materials. A Mighty Zonaite Defend mixed with one other protect might also be viable for protection, in case you miss your likelihood to dodge.
Demon King Ganondorf: Part 2A
After whittling down his HP, Ganondorf will change to the second section of the struggle. This time, he’ll summon the Phantom Ganon variations. The excellent news is that your Sage companions will distract most of them, so you will in all probability take care of solely one by one (except you unluckily aggro others). As ordinary, anticipate the Sword Lunge, then dodge and Flurry Rush to counter.
Demon King Ganondorf: Part 2B
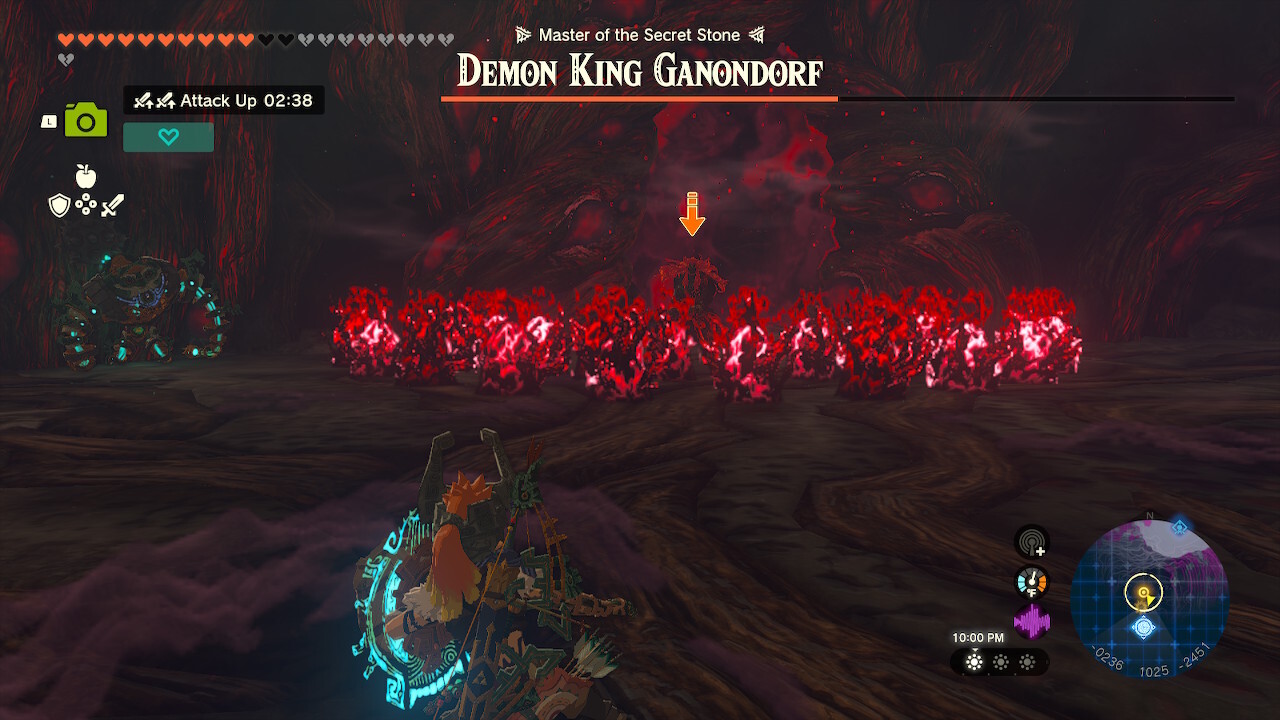
After all of the Phantom Ganons are lifeless, it is time for the subsequent portion of this section. We really feel that that is the hardest a part of the Zelda: Tears of the Kingdom Ganondorf remaining boss encounter, as he both retains or boosts his talents. Furthermore, all of your Sage companions will probably be shocked for the rest of the battle.
- Seeker Arrows and Spear Thrust – Three projectiles will monitor you, so you will wish to run sideways. Whereas that is taking place, you additionally have to keep away from the Spear Thrust transfer.
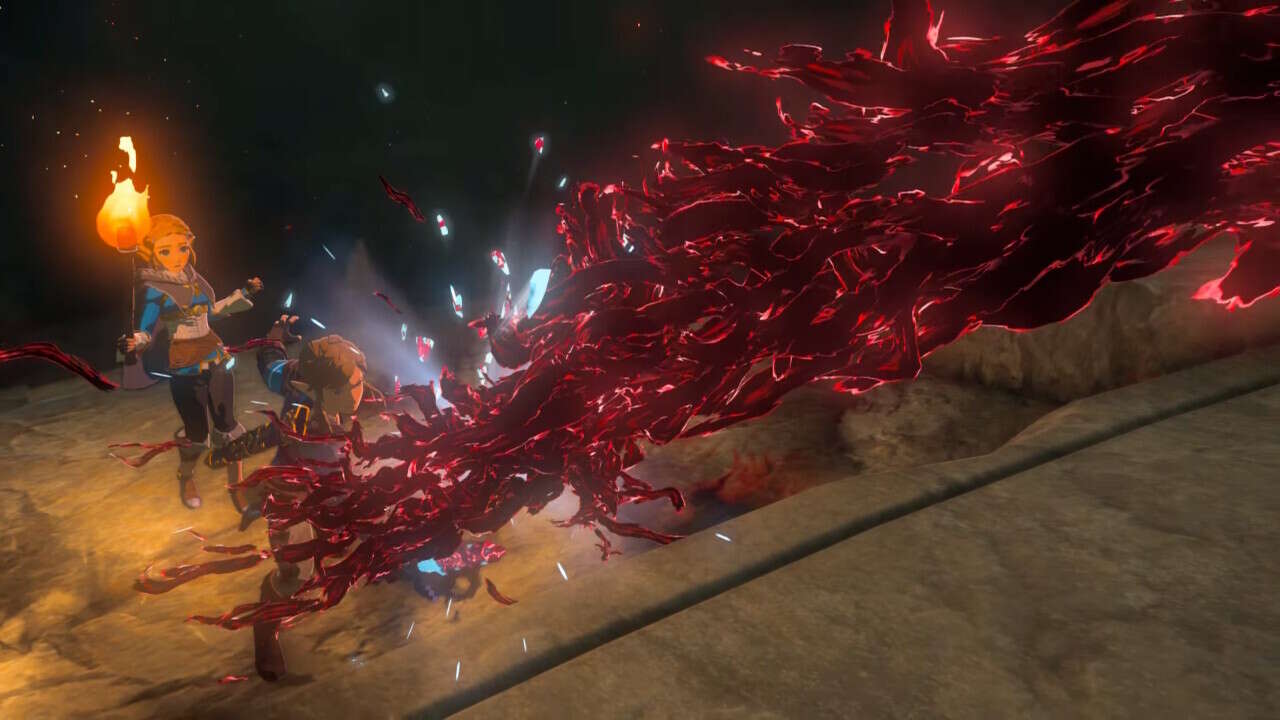
- Crimson Eruption – A number of crimson flames will cascade from Ganondorf, masking a large space.
- Crimson Closure – As a substitute of shifting outward, the flames will transfer inward. This potential is a bit exhausting to keep away from should you’re on the bottom. You possibly can attempt boosting your self into the air. Alternatively, change to your protect to have higher lateral management of Hyperlink, which ought to allow you to see the gaps as you progress away. Simply watch out because the boss would possibly do the Sword Lunge as properly.
There are additionally just a few necessary issues to pay attention to:
- The dodge -> Flurry Rush sequence will not work anymore. Ganondorf will dodge your counter and do a counter of his personal. As such, it is crucial that you just prepared your block when this happens.
- His assaults do not simply trigger the Gloom affliction, which you’d’ve been in a position to cleanse with Sundelion. As a substitute, they will routinely take away your max hearts. Technically, you’ll be able to’t heal this time.
- At finest, you will have a gap in the course of the Crimson Eruption and Seeker Arrow casting animations. For just a few seconds, you can pop him within the head with arrows.
- You possibly can attempt to launch your self into the air (i.e. protect + Spring/Time Bomb combo), then purpose to decelerate time.
Demon King Ganondorf: Part 3
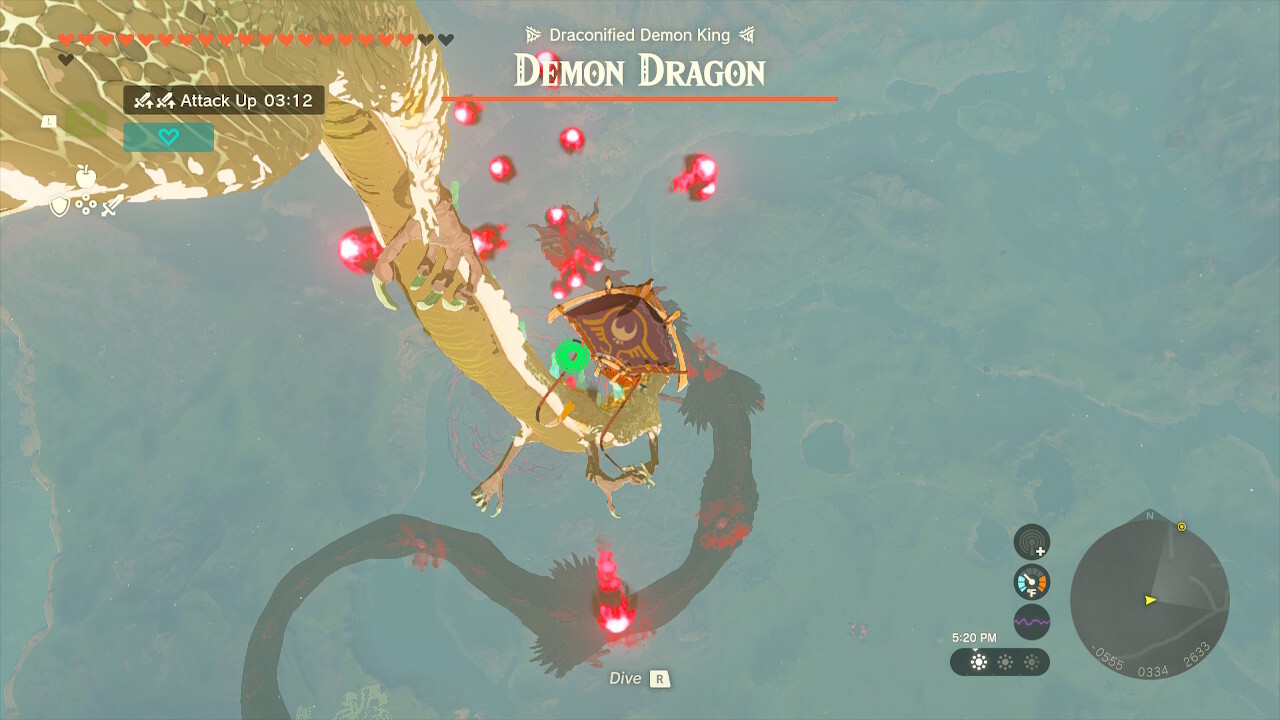
After depleting Ganondorf’s HP, one other cutscene will play. He’ll eat his Secret Stone and rework right into a Demon Dragon. Regardless of his ominous nature, that is in all probability the simplest section of the Zelda: Tears of the Kingdom remaining boss encounter.
Here is what occurs:
- The Gentle Dragon (i.e. Dragon Zelda) will swoop in to avoid wasting Hyperlink. You possibly can then trip the Gentle Dragon as the 2 face off within the sky in an epic battle.
- Soar off the Gentle Dragon and skydive to the Demon Dragon’s physique. You need to see a glowing scale/spike. Hit that, and you will be thrown again to Zelda. You may simply repeat the method by hanging one other scale.
- The Demon Dragon does have talents, like a Crimson Rain of Fireplace and Crimson Fireballs, however they’re pretty straightforward to keep away from. You additionally get bothered with Gloom when you’re near him. However, as quickly as you progress away or attain Zelda, the Gloom-affected hearts will probably be cleansed (you are in an open space anyway).
- The Gentle Dragon will routinely fly to a place to catch you in case you are falling.
On the very finish, the Demon Dragon’s Secret Stone on its brow will glow. Dive to it, then destroy it with the Grasp Sword. This may annihilate your foe. And that is it, you have overwhelmed the Zelda: Tears of the Kingdom Ganondorf remaining boss encounter. The marketing campaign has been concluded, however you would possibly wish to try should you obtained the true ending.
There are quite a few mechanics and aspects to be taught in The Legend of Zelda: Tears of the Kingdom. For extra info, you’ll be able to go to our guides hub.
The merchandise mentioned right here have been independently chosen by our editors.
GameSpot might get a share of the income should you purchase something featured on our web site.